
Remember when I used to blog? For the better part of last year and this one I actually forgot I even HAD a blog. But I have come out of blogging hibernation to document our kitchen overhaul because it was a lot of work and it looks so different now.
When we first moved we planned to redo the cabinets at some point, just because I wanted white ones. Soon after moving in we realized the cabinets had been stained and the workmanship was very poor indeed--streaky and incomplete. Also the counter was painted. Not nicely painted, just slapped on and it soon began to chip. The hardware was cheap and flimsy. So the kitchen grew uglier, but with Babycakes on the way we knew a redo wasn't going to happen anytime soon.
But cast your minds back to last October. I whined about how we didn't redo our kitchen still and so we wouldn't do it until next summer and Drew said, "Let's do it this weekend!" Which is the reaction I was fishing for, to be honest, evvvvvven though I proceeded to complain about all the reasons it wouldn't work before saying okayyyyyy.
Our original plan was just to start with the cabinets but then we said, why don't we just paint the whole room too? It seemed the moment. So that Friday we bought a lot of paint stuff and once the smaller set was in bed we got to work.
 |
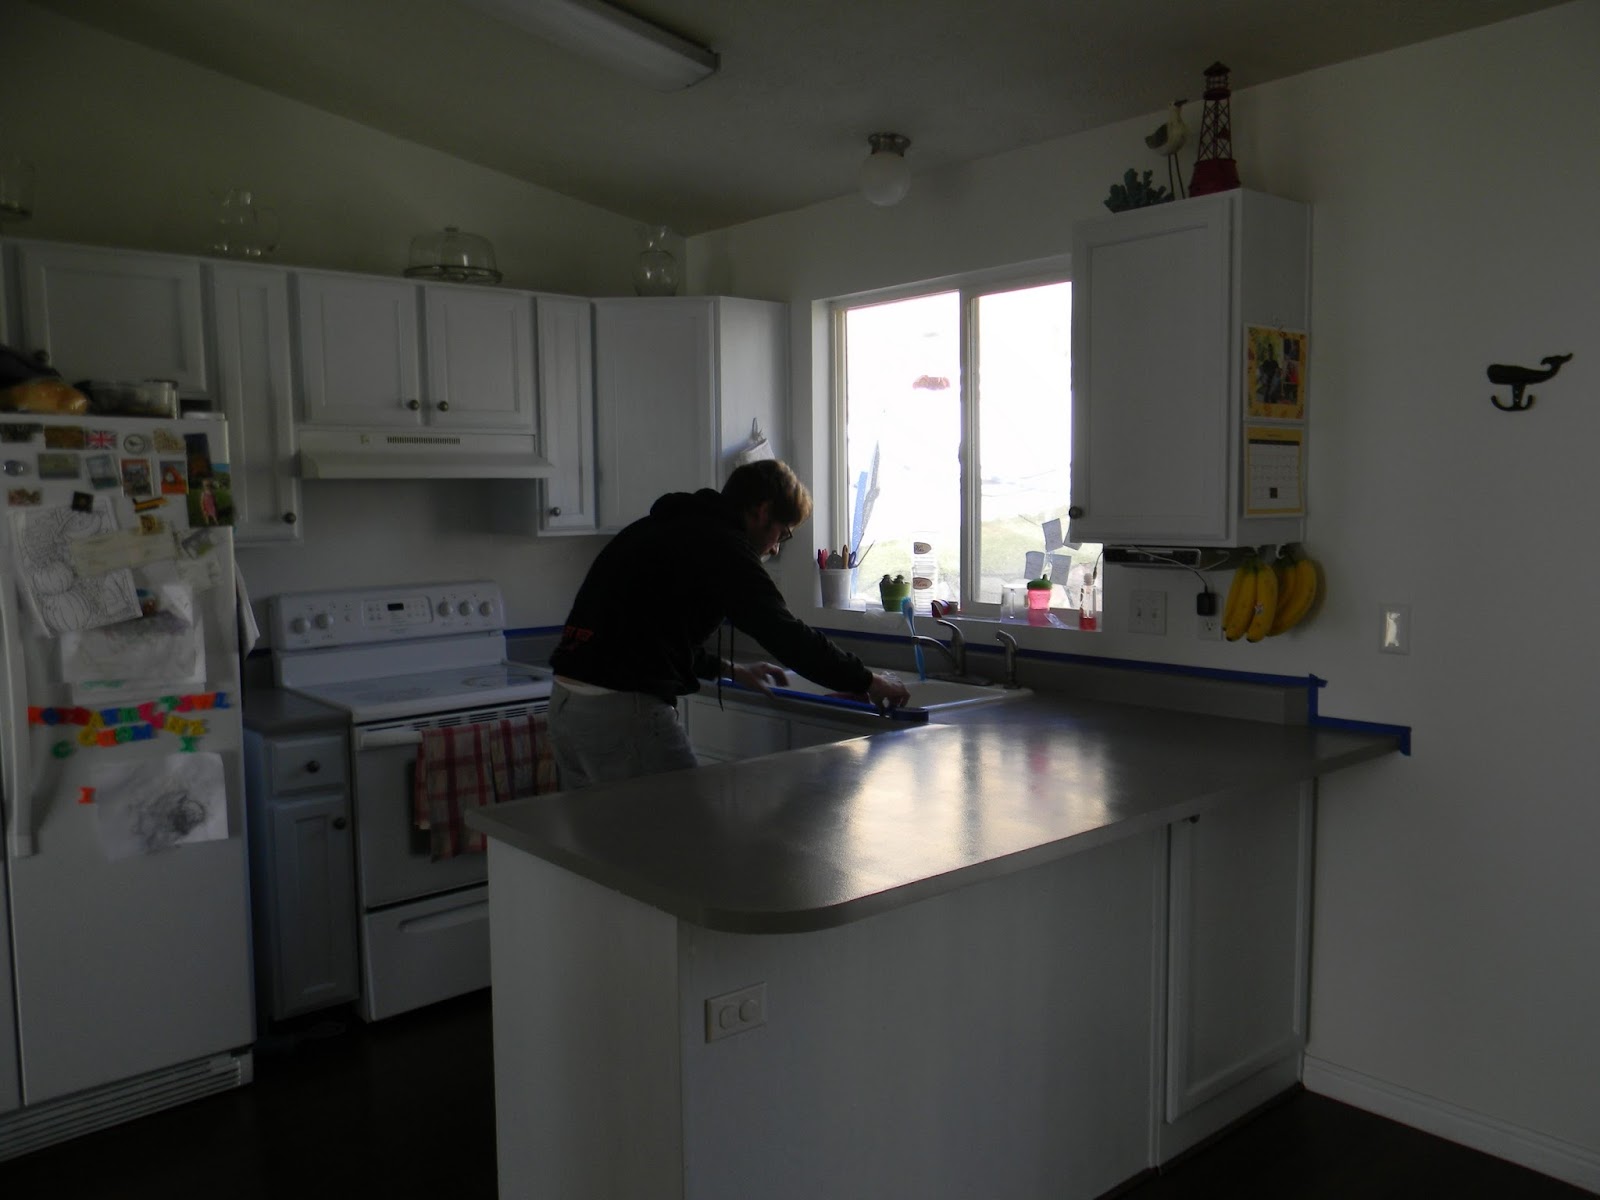
| (I spent a lot of Friday taking doors and curtains downs and putting up tape.) |


 |
| (We wound up doing three coats) |
 |
| (The inspector came out in the morning and approved of our work. Yes, he has a whale inside his jammies.) |
Anyway, we set up shop in the garage and got to work scrubbing.

We scrubbed all afternoon and for hours after bedtime. I won't say it wasn't hard. I won't say that I didn't want to give up and cry at one point. And I won't say that it was easy to lift my arms the next day. BUT we got the scrubbing DONE.
Painting!

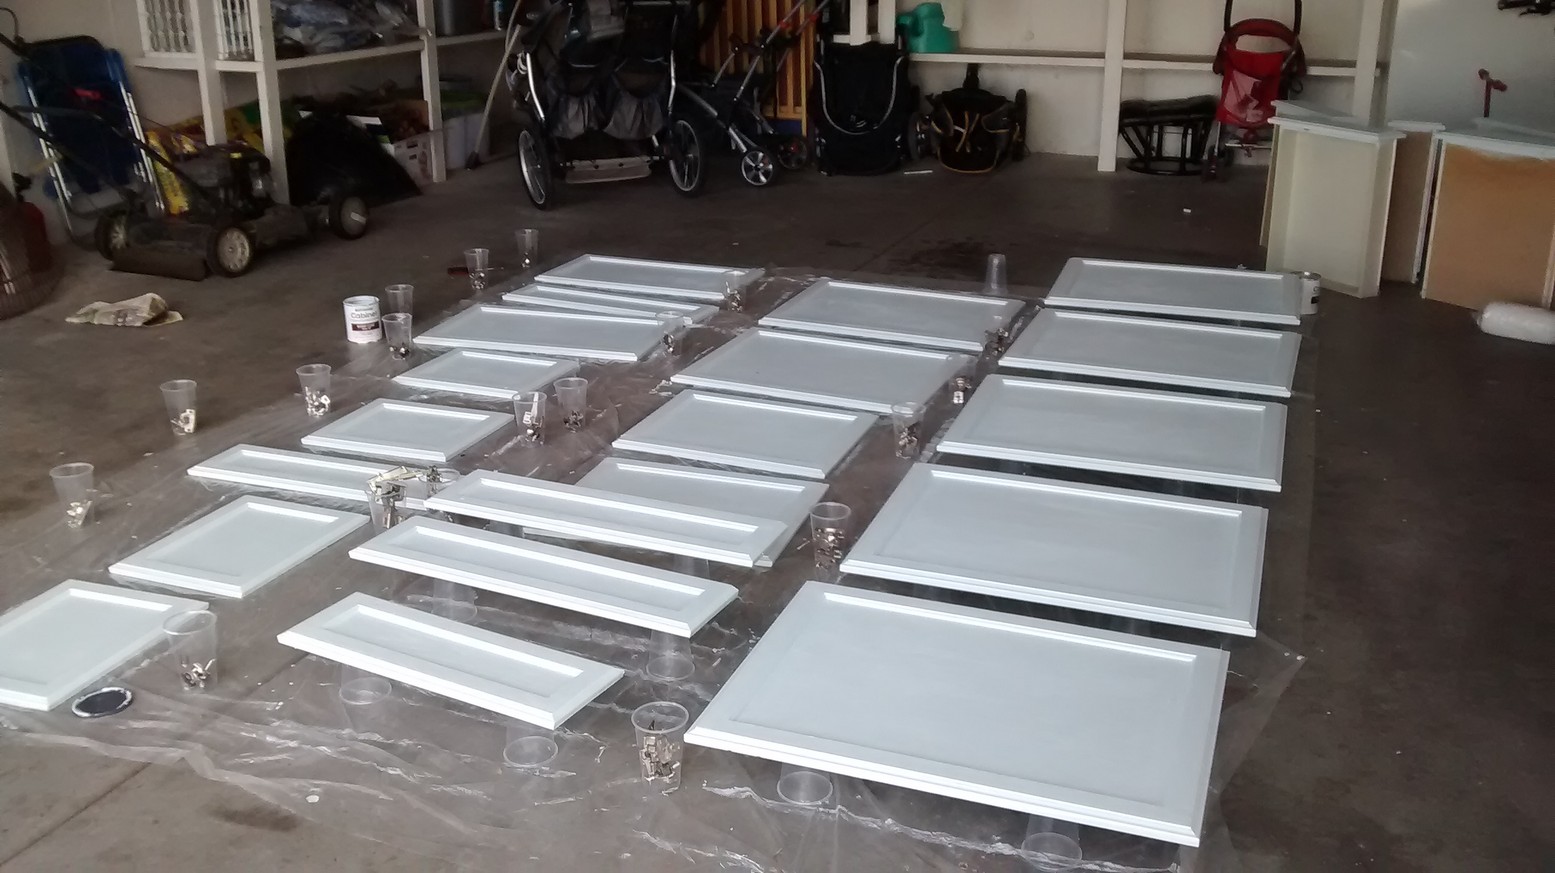

The painting took some time, just because it was coat one side, coat on the other side, coat inside...repeat, repeat. We tried the antique effect, but it didn't really work with our color so that saved us a step. So then we sealed everything. After they dried and set for a while we got to put them back together and the kitchen regained some order. Plus, new hardware!


I wish I had a picture of the old handles. Just know that they were cheap and very shiny and annoying. We got these pewter-ish ones and I love them. Instead of painting the sides of the big cabinet I decided to do chalkboard paint on them. I thought it would be fun and I could, you know, write stuff on them.

Turns out I like them better clean looking so...don't tell the kids it's a chalkboard... I added the clothespins, which are handy. Kind of wish I'd painted them too though. (Anyone need any chalkboard paint?)
SO. The cabinets and the walls were done. We had a big goal of clearing off the counters so we got an undercabinet CD player, installed some hooks for bananas and got a smaller fruit bowl. Eventually we hung a wire basket on the cabinet by the sink to put soap and stuff in. Then we were finally ready to do the counters! We used this kit, which we had to order.
First went on the primer coat. We were pretty pleased just with this change:

The process is basically layering colors over the primer. It's easy to customize and didn't even take that long either, though we don't have THAT much counterspace. Plus it's easy enough that certain toddlers can try it out.

(I should say we plan to get new countertops at some point, but, in the meanwhile, we figured painting them couldn't possibly look worse than their previous paint job.)
And it turned out great!


Like four months later I finally did some art to hang over the window and we called it done! So now here are the final after pictures:


 |
| (New butter dish!) |
 |
| (New curtains!) |

 |
| (How'd this get in here?) |

Ta da! Credit for the accessories on the cabinet and the whale hook goes to Hobby Lobby. Side story: one reason we got that red buoy is because if you ask Mr C what those are called, he'll say, "A GUH!" for some reason. He knows the real term, but he still says that anyway and Miss A probably thinks that's what they're called. We'll set her straight before college.
On a semi-related note, here are three food things I am really excited about lately:
This tomato soup, which has replaced all other recipes as my favorite.
These pickled red onions, which are so good I was eating them out of the jar.
Making hard boiled eggs in the oven--WHAT. This is life changing, people! I can't find a good link so I will just tell you:
1) Eggs in a muffin tin
2) Muffin tin in a 350 degree oven for 30 minutes
3) Eggs straight into an ice bath
4) Eat all the eggs (which are SO easy to peel!)
Best thing ever.
And now I can make all these things in a kitchen that isn't hideous!
No comments:
Post a Comment